Getting Started Composting with Worms
Jan 02, 2023
Alright, earth-lovers, let's delve deep into the wondrous world of vermicomposting. We're not just talking about tossing kitchen scraps into a bin; we're talking about creating a miniature, self-sustaining ecosystem that transforms waste into garden gold.
The Wriggling Workforce: Why Worms?🪱
Forget the traditional compost pile, a slow, and sometime smelly affair 🤢 (if not managed well). Vermicomposting harnesses the power of red wigglers (Eisenia fetida), nature's tiny recyclers, to break down organic matter at an astonishing pace.
Why choose worms?
- Speedy Decomposition: Worms accelerate the composting process, turning waste into usable compost in weeks, not months.
- Nutrient-Rich Vermicast: The end product is a dark, crumbly substance teeming with essential nutrients, beneficial microbes, and growth-promoting hormones.
- Waste Reduction: Vermicomposting diverts food scraps from landfills, reducing your environmental footprint and contributing to a circular economy.
- Versatility: Whether you have a sprawling garden or a tiny apartment balcony, vermicomposting can fit your lifestyle. 🏡
Building Your Worm Sanctuary: A Step-by-Step Guide 🛠️
Creating a thriving worm bin is easier than you might think. Here's a breakdown of the essential components:
- The Worm Bin:
- A plastic bin with drainage holes is a popular choice. Repurposed bathtubs🛁 or commercially available worm farms also work beautifully.
- Remember, worms prefer dark environments, so opt for an opaque container.
- The Bedding:
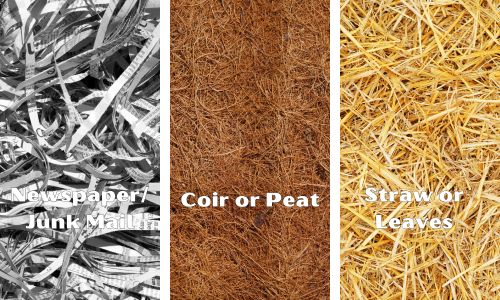
- This is the worm's cozy home. Shredded newspaper, coconut coir, or straw create the perfect environment. 🛏️
- Moisten the bedding until it feels like a wrung-out sponge, providing optimal moisture for your worms. 💧
- Important: avoid glossy paper or anything with toxic inks.

- The Worms:
- Red wigglers are the stars of the show. 🌟 Purchase them online from places like craigslist or facebook marketplace or from a local nursery like Walter Andersons in San Diego. You might also ask a neighbor or friend that has a bin for some.
- A pound of worms is a good starting point for a standard-sized bin.

- The Worm Food:
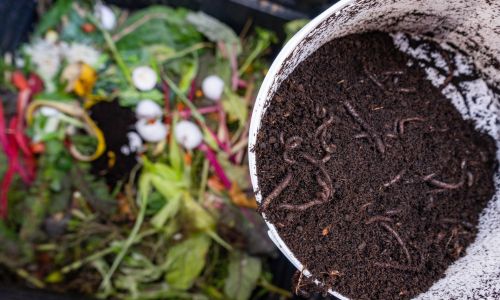
- Worms love fruit and vegetable scraps, coffee grounds, tea bags, and even crushed eggshells.
- Chop your food waste into smaller pieces to make it easier for the worms to consume.
- Critical: avoid meat, dairy, oily foods, and citrus peels in large quantities, as they can attract pests and create odors.
- Worms love fruit and vegetable scraps, coffee grounds, tea bags, and even crushed eggshells.
- Feeding Your Worms:
- Bury the food scraps in the bedding, covering them to prevent odors and fruit flies.
- Feed your worms regularly, but don't overfeed them. They can eat about half their weight in food per day.
- Bury the food scraps in the bedding, covering them to prevent odors and fruit flies.
- Maintaining the Bin:
- Keep the bedding moist but not soggy. 💦
- Monitor the temperature; worms thrive in temperatures between 55-77°F (13-25°C). 🌡️
- Take note: if the bin starts to smell, it's likely too wet or you're overfeeding.

Harvesting the Black Gold: Vermicast
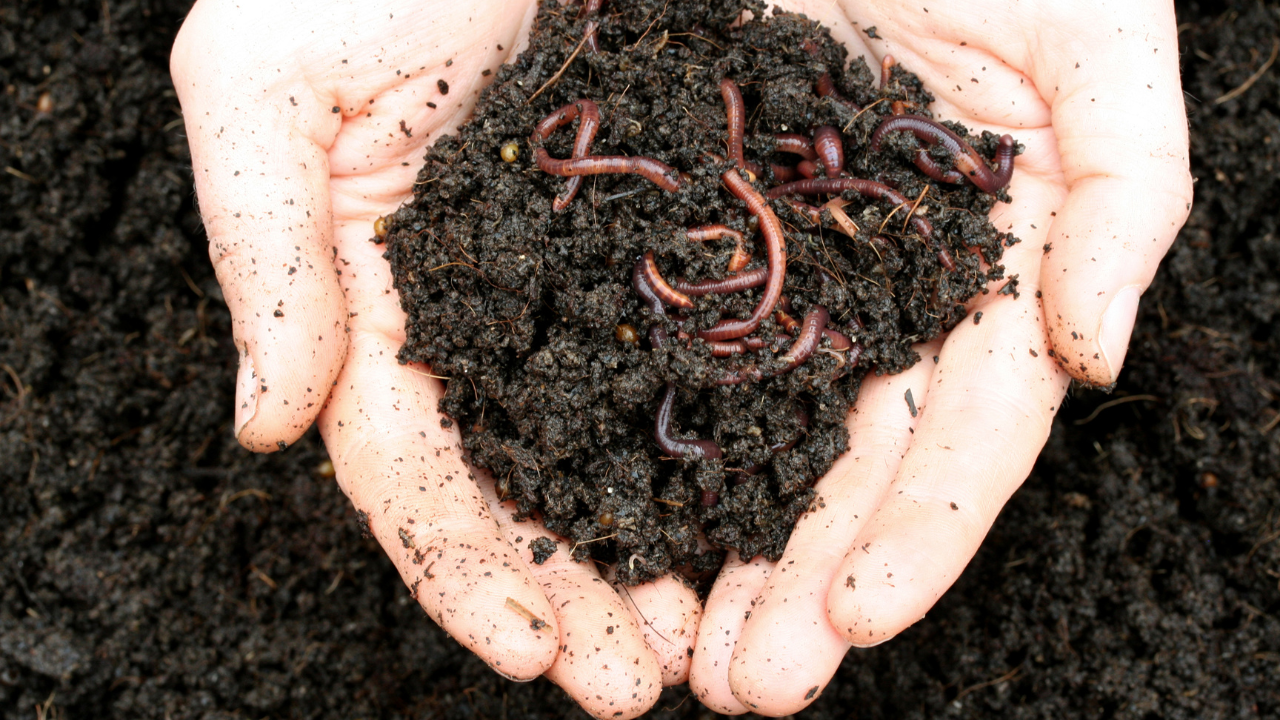
After a few months, your worms will have transformed your kitchen scraps into rich, dark vermicast. It's time to reap the rewards!
- The Migration Method:
- Move the worms and their vermicast to one side of the bin.
- Add fresh bedding and food to the other side.
- The worms will migrate to the new food, leaving the vermicast behind.
- The Sifting Method:
- Remove the worms from the bin and sift the vermicast through a screen.
- Return the worms to the bin with fresh bedding.
- If you are using a plastic bin system of some sort and your bins have holes in the bottom of the bins, you can place a new bin with bedding on top of an existing one. Then continue to feed that top bin. The worms will migrate through the holes in the bottom and be attracted to the new food.
- Harvest the lower bin once the majority of the worms have moved into the top bin.
- Repeat steps one and two for a continual system
Using Your Vermicast: Superfood for Your Garden

Vermicast is a powerful soil amendment that can boost plant growth and health.
- Add it to your garden beds to improve soil structure and fertility.
- Use it as a top dressing for potted plants. 🪴
- Worm Tea Considerations:
- For a quick nutrient boost, mix vermicast with water and use it immediately. This is a leachate, not a long steep.
- If you desire a microbe rich tea, you must aerate the mixture continuously for the duration of the steeping process, typically 24-48 hours. Un-aerated, long steeped worm tea is not a good thing.
Vermicomposting: A Permaculture Perspective
Vermicomposting aligns perfectly with permaculture principles, creating a closed-loop system that mimics nature's efficiency.
- Stacking Functions: A worm bin does more than just make compost. You can connect them with other elements in your garden or home. For instance, if you have chickens, think about locating the worm bin near the chickens so that food scraps can both be feed to the worms and the chickens in one trip. When you then have an abundance of worms, some can be fed to the chickens for a free chicken feed.
- Creating Closed Loops: By using kitchen scraps to create vermicast, you're closing the loop and reducing waste. ♻️
- Building Soil Fertility: Vermicast is a powerful soil amendment that can improve soil structure, water retention, and nutrient availability.
Vermicomposting is more than just a composting method; it's a way to participate in the natural cycle of life, turning waste into abundance. So, grab a bin, some worms, and get ready to witness the magic of vermicomposting. Your garden, and the planet, will thank you. 🌍❤️


